In an ideal world I would love to have my nails done every two weeks, painted and manicured at the salon up the road from me; but my nail lady is always so busy (she is a nail magician) so its difficult to get an appointment. For this reason, sometimes I have to give in to going to other salons to get my nails done and that is exactly what happened last week before my friends wedding. I went to a walk in nail salon and had gel overlay put on my nails. I took them off as soon as the wedding was over (I hated them) and was left with weak, flimsy nails that were prone to peeling and chipping.
All the dipping in acetone and machine operated files had done their damage to my nails and cuticles so I looked to restore my nails to some sort of normality. I do this by giving my self a little DIY "nail pampering" at home. It is quick and easy with minimal fuss and really helps to clean up my nails and make them look some what presentable.

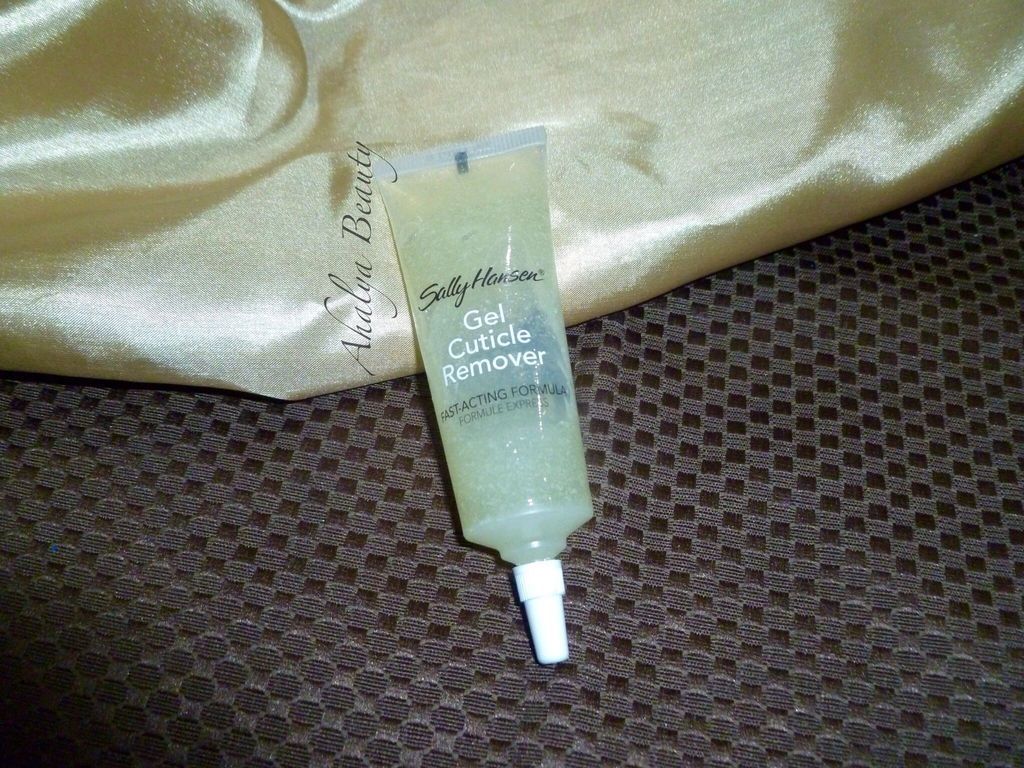
I am definitely not a nail pro so I am not very good with trimming my cuticles but I have found a great little product that helps to assist in cleaning up my cuticle area. I start by filing my nails down to my desired length and shape then I use Sally Hansen's Gel Cuticle Remover which works by loosening the excess cuticles whilst conditioning the area revealing a clean surface to apply polish.

I apply a thin strip along the cuticle area of my nails and leave it on there for 3-5 minutes then with the flat end of the cuticle pusher I gently loosen and push back the cuticle and finally wash the residue with luke warm water. For the next step I use buffing block to smooth the nail surface and give it a natural shine. (optional)
And to finish, the final (two steps) I use Dr Lewinn's hand and nail treatment duo Renunail strengthener and nourishing oil. This is a three week treatment which encourages healthy nail growth leaving them stronger and longer.

The strengthener helps to repair damaged and weak nails and can work as both a base coat and top coat to strengthen the nail and the nourishing oil conditions the nails by locking in moisture to improve nail health. The three week treatment requires two coats on the first application and then one coat daily for five (consecutive) days. On the seventh day remove the strengthener with polish remover and repeat the process for three weeks. After the third week let your nails breathe for one or two weeks and repeat the process. The nourishing oil can be applied after each new coat once the strengthener has dried and can be used during the breathing period too.
And voila!!

So that is it; a quick and simple DIY at home nail pampering that is easy for anyone to do. I have definitely seen a difference in my nail growth and it helps me to replenish the damage done by the nail extension process.
You can always apply nail colour on top of the strengthener; but I prefer to leave them natural for a while unless I have an occasion but it is a personal preference.
How do you care for your nails? Let me know if you have a DIY nail routine.
Janki
x x x
Continue Reading...
All the dipping in acetone and machine operated files had done their damage to my nails and cuticles so I looked to restore my nails to some sort of normality. I do this by giving my self a little DIY "nail pampering" at home. It is quick and easy with minimal fuss and really helps to clean up my nails and make them look some what presentable.

And to finish, the final (two steps) I use Dr Lewinn's hand and nail treatment duo Renunail strengthener and nourishing oil. This is a three week treatment which encourages healthy nail growth leaving them stronger and longer.

The strengthener helps to repair damaged and weak nails and can work as both a base coat and top coat to strengthen the nail and the nourishing oil conditions the nails by locking in moisture to improve nail health. The three week treatment requires two coats on the first application and then one coat daily for five (consecutive) days. On the seventh day remove the strengthener with polish remover and repeat the process for three weeks. After the third week let your nails breathe for one or two weeks and repeat the process. The nourishing oil can be applied after each new coat once the strengthener has dried and can be used during the breathing period too.
And voila!!

So that is it; a quick and simple DIY at home nail pampering that is easy for anyone to do. I have definitely seen a difference in my nail growth and it helps me to replenish the damage done by the nail extension process.
You can always apply nail colour on top of the strengthener; but I prefer to leave them natural for a while unless I have an occasion but it is a personal preference.
How do you care for your nails? Let me know if you have a DIY nail routine.
Janki
x x x
Disclaimer:
All products mentioned were purchased by me and I am in no way sponsored by any of the brands mentioned.